|
Installing Magtax on a Network |
  
|
|
Installing Magtax on a Network |
|
NOTE: Please read the sections on Security Products and Optimizing Network Performance.
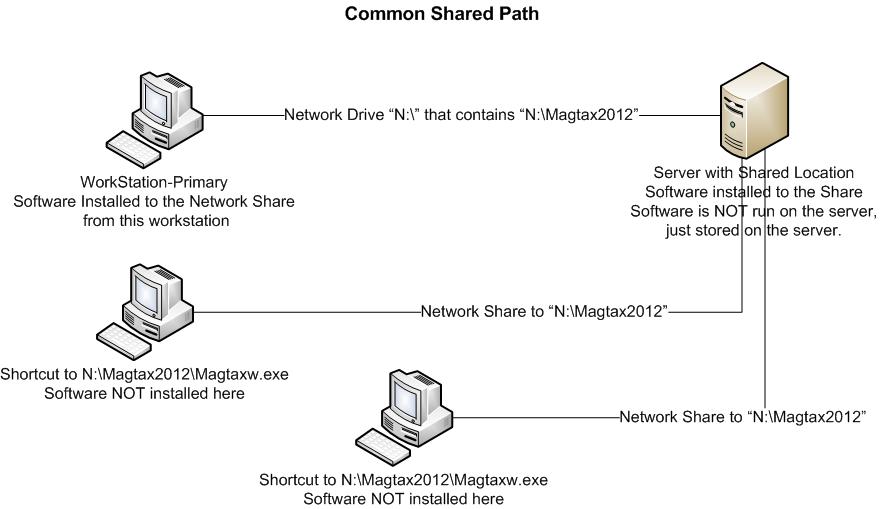
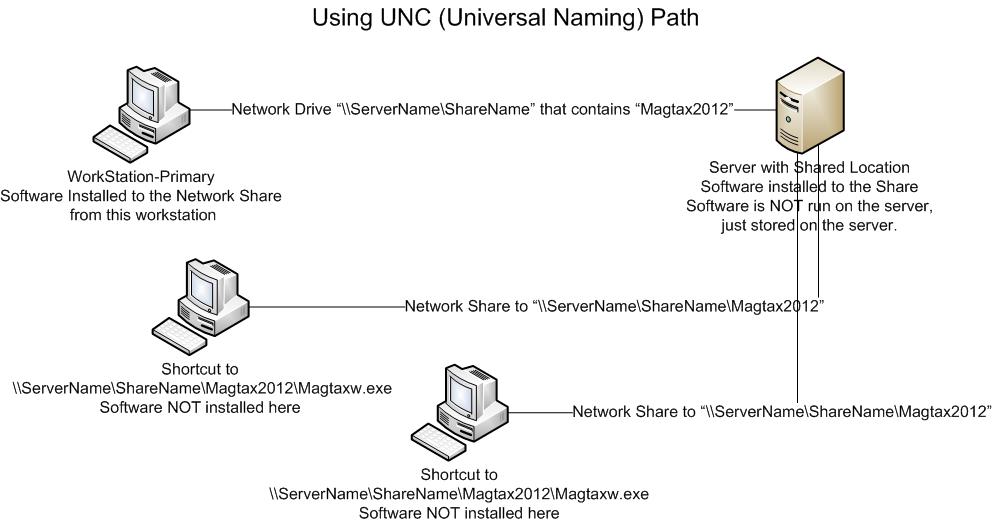
By Default, Magtax is installed on the local Workstation. You can install on a shared network drive so that other workstations can access the software and data.
The "Primary" workstation is the workstation that runs the Setup and installs the software.
A "Secondary" workstation is a workstation that only runs the software.
To complete a Network Installation Complete the following steps:
Primary workstation Setup:
| 1. | Download and Install Magtax. During the installation select "Shared Network Installation" and then select a network location to install the software. Suggest something like "M:\MagtaxYYYY" where M is the shared network drive. |
| 2. | Once installation is complete, run and Activate Magtax on the Primary workstation. |
| 3. | Run Magtax and confirm that the data locations are set correctly (Where's My Data?) |
Workstation Setup:
| 1. | For each workstation, using windows explorer locate WSetup.EXE on the shared network drive in the Magtax folder. Double click to run and follow its instructions. A shortcut should now be on the desktop as well as menu items for the User Manual. Magtax should now run on that machine. |
| 2. | Repeat for others workstations. |
| 3. | Do not run the full setup from each workstation - just WSetup.exe |
Windows Help files on a network:
Windows has a feature to prevent unscrupulous content from infecting your network. Windows Help Files (CHM) can contain active content and links to the internet. By default this active content is disabled. Please click here for instructions to allow the help file to function.